My collection of pictures and frames have followed me from my childhood bedroom to college dorms and every single one of my apartments. Whenever I move in to a new place, the first thing I do is start hanging frames on the walls - there's something comforting about being surrounded by familiar images when you are in an unfamiliar place. I have no regard for symmetry and truly hate when everything matches, so my little collection of pictures and frames fit in just right no matter where I live.
Granted, I am probably not the best person for giving tips on hanging pictures (I "eyeball" everything, and therefore most of my walls are covered in nail holes), but do think you'll agree that galleries look best when they are a little willy-nilly and off kilter, as if a real artist just slapped them up there for sale. But I do put a little thought into the arrangement and thought I'd share some tips I've learned after making hundreds (no, really, hundreds) of holes in my walls:
Granted, I am probably not the best person for giving tips on hanging pictures (I "eyeball" everything, and therefore most of my walls are covered in nail holes), but do think you'll agree that galleries look best when they are a little willy-nilly and off kilter, as if a real artist just slapped them up there for sale. But I do put a little thought into the arrangement and thought I'd share some tips I've learned after making hundreds (no, really, hundreds) of holes in my walls:
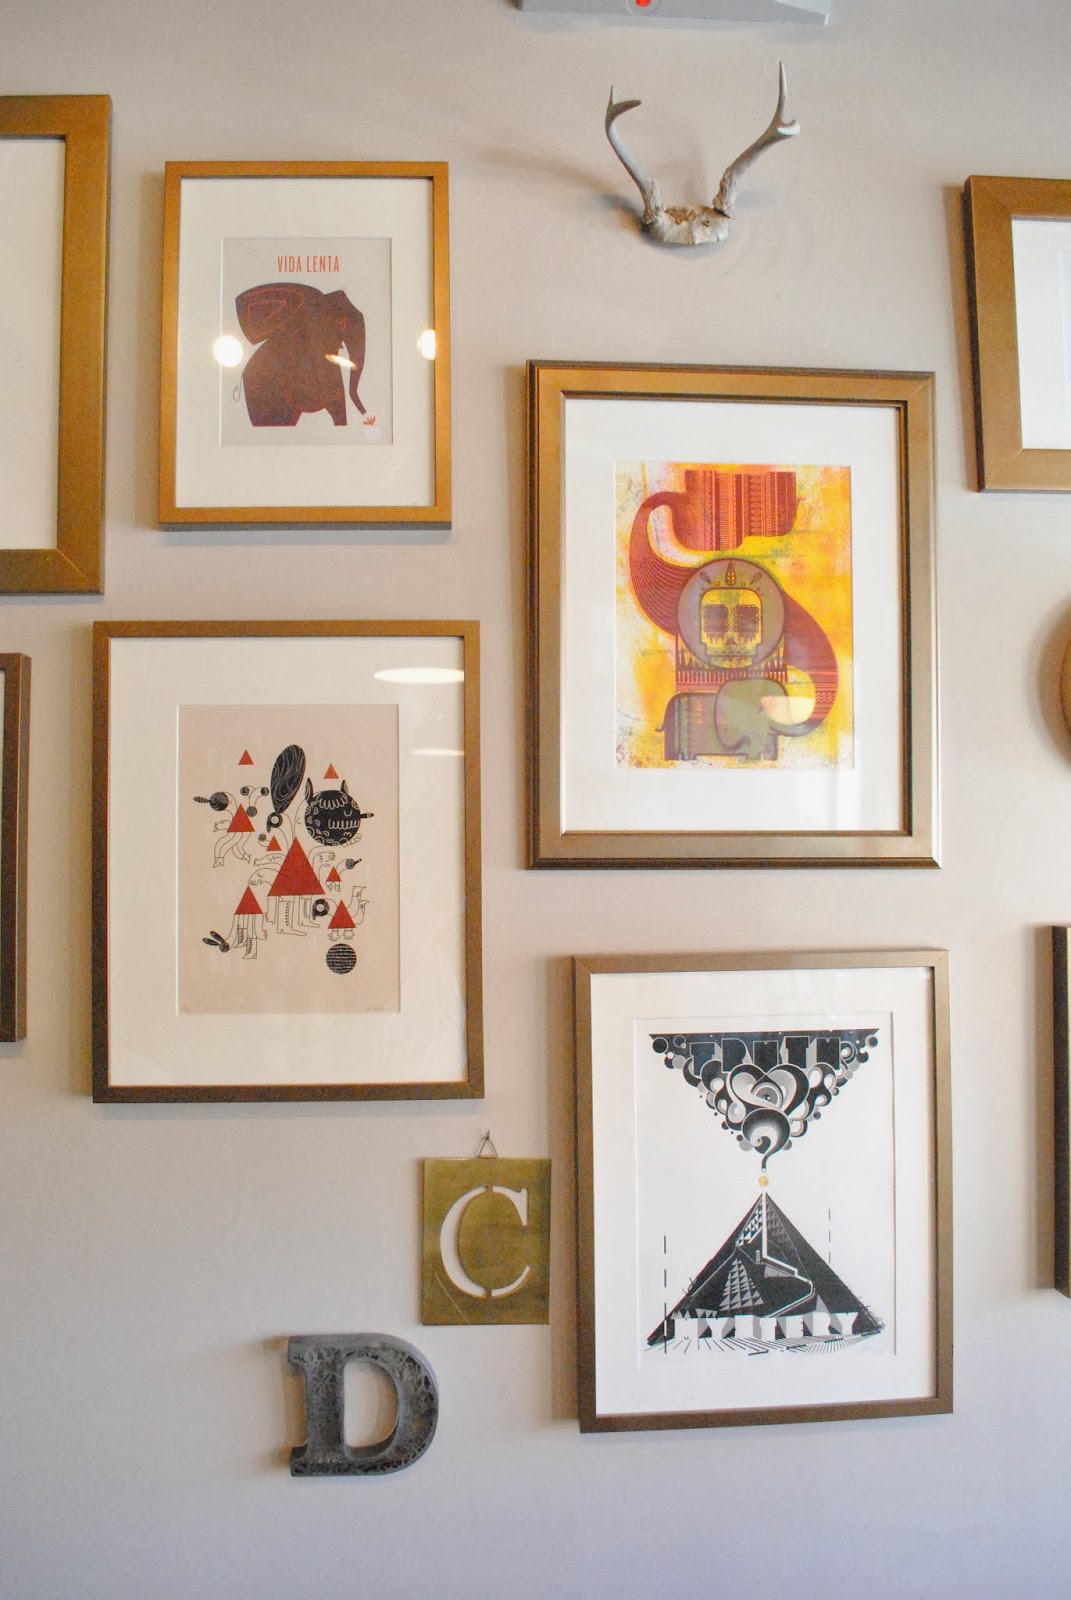
#1 Go beyond picture frames and canvases
Sprinkle in some letters, animal heads, or anything else that you feel inclined to nail to the wall - remember that there is no 'wrong' in an art gallery.
#2 Find frames anywhere and everywhere
The obvious Pottery Barn and Target work, but Goodwill and Homegoods are great sources, and I pick them up at flea markets, garage sales, etc.
#3 Vary the size, texture and dimension
Use fat frames, skinny ones, long ones, small ones, embellished ones, simple ones, etc. You get the idea.
Use fat frames, skinny ones, long ones, small ones, embellished ones, simple ones, etc. You get the idea.
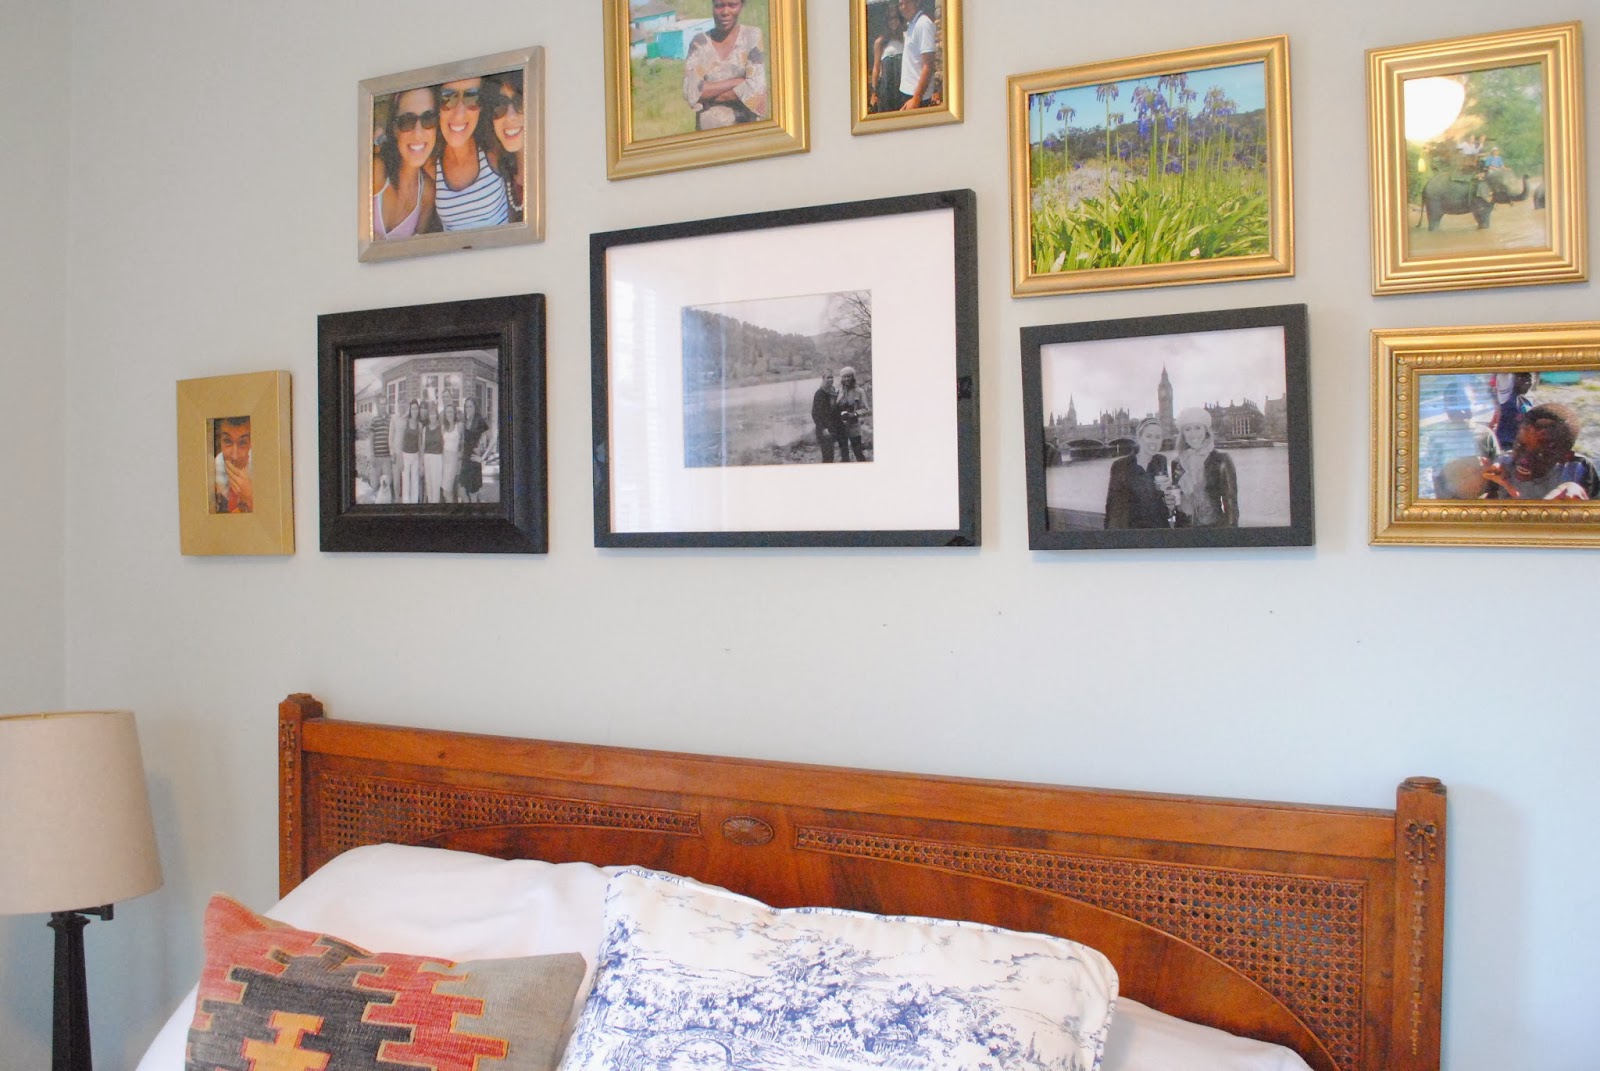
#4 Choose a theme
For one gallery, I stuck to neutral tones (black, white, gold, silver, cream, wood).

And if you want to change it up, an $8 bottle of gold spray paint is all you need. I decided to paint all my old frames gold and left a few black for balance.
For one gallery, I stuck to neutral tones (black, white, gold, silver, cream, wood).

And if you want to change it up, an $8 bottle of gold spray paint is all you need. I decided to paint all my old frames gold and left a few black for balance.
Before you start hanging, it's a good idea to lay everything out on the floor so you can rearrange until you've got the right feel.
#6 Start with a bold focal piece
I chose a large stretched black and white canvas to be the center of my wall.
I chose a large stretched black and white canvas to be the center of my wall.
#7 Arrange medium and small frames around the focal piece, any which way that you please
Once I committed to those two as the focus, it was pretty easy to start hanging the the others in the places where I felt they fit. (And if you're not comfortable making as many nail holes in the walls as your darn well please until it looks right, you can play with the layout on the floor and use a ruler.)
Once I committed to those two as the focus, it was pretty easy to start hanging the the others in the places where I felt they fit. (And if you're not comfortable making as many nail holes in the walls as your darn well please until it looks right, you can play with the layout on the floor and use a ruler.)

# 8 Stick to roughly the same amount of space between the frames
To tie everything together and make it look cohesive, use a measuring tape to space everything evenly - I did 1.5" spaces between my frames, top, bottom, and both sides. One or two 'thumbs' apart also works as a good guide if you don't want it to be too perfect.# 8 Stick to roughly the same amount of space between the frames

#9 Don't be afraid to make holes in your walls!
There is no hole that a little spackle and a makeup brush of touchup paint can't fix.
#10 Change it up frequently
I rearrange my pictures all the time, partly thanks to my fearlessness in making holes in the walls and partly thanks to my need to rotate things through my home.
(FYI, I think my disrespect of drywall stems from my dad. He would wait YEARS to hang pictures, and left beautiful paintings, photographs, prints, and amazing frames leaning against the walls in his study collecting dust. Lesson learned - commitment phobia is not for drywall.)